There's something so comforting about a warm, hearty meal that requires minimal effort. Stuffed bell peppers are a classic for a reason – they're delicious, versatile, and packed with nutrients. But sometimes, the thought of pre-cooking rice and browning ground beef can feel like a chore. That's where the magic of the slow cooker comes in. Let's explore how to make unbelievably delicious and easy Crock Pot Stuffed Bell Peppers that practically cook themselves! Delicious and Easy Recipe for Crock Pot Stuffed Bell Peppers This recipe for Crock Pot Stuffed Bell Peppers is a game-changer for busy weeknights or lazy weekends. It simplifies the process without sacrificing any of the flavor. The slow cooker allows the flavors to meld together beautifully, resulting in tender peppers and a savory, satisfying filling. Plus, clean-up is a breeze! It's also a very forgiving dish, so feel free to adjust the ingredients to your liking. Got leftove...
Have you ever bitten into a perfectly ripe, sun-warmed bell pepper, bursting with sweetness and flavor? Imagine cultivating that experience right in your own backyard! Growing bell peppers from seed might seem daunting, but with a little patience and the right knowledge, you can enjoy a bountiful harvest of these colorful and versatile vegetables.
Getting Started: A Guide to Grow Bell Peppers From Seed
Embarking on the journey to grow bell peppers from seed is a rewarding experience. It allows you to select specific varieties, get a head start on the growing season, and ultimately enjoy fresh, homegrown peppers. This comprehensive guide will walk you through each step, from choosing the right seeds to transplanting your seedlings into the garden.
Choosing the Right Bell Pepper Variety
The first step in successfully growing bell peppers from seed is selecting the variety that best suits your climate and preferences. Bell peppers come in a range of colors, sizes, and sweetness levels. Consider your local growing conditions, the amount of space you have, and how you plan to use your harvest when making your choice. Here are a few popular options:
- California Wonder: A classic green bell pepper, known for its reliability and thick walls.
- Yolo Wonder: Similar to California Wonder but more disease-resistant.
- Golden Bell: A sweet and flavorful golden yellow pepper.
- Purple Beauty: A stunning purple pepper that turns green when cooked.
- Red Knight: A fast-maturing red pepper, ideal for shorter growing seasons.
Beyond these, consider hybrid varieties which often offer increased disease resistance and higher yields. Always check the seed packet for information on days to maturity (the time it takes from transplanting to harvest) to ensure the variety is suitable for your growing season.
Starting Your Seeds Indoors
Bell peppers require a long growing season, so starting them indoors 6-8 weeks before the last expected frost is crucial. This gives the seedlings a head start and ensures they have enough time to mature before the weather turns cold. Here's how to get started:
Gather Your Supplies
You'll need the following materials:
- Bell pepper seeds of your chosen variety
- Seed starting trays or small pots
- Seed starting mix (a sterile, well-draining soil mix)
- A heat mat (optional, but highly recommended)
- A grow light (optional, but highly recommended)
- A spray bottle filled with water
- A humidity dome (or plastic wrap)
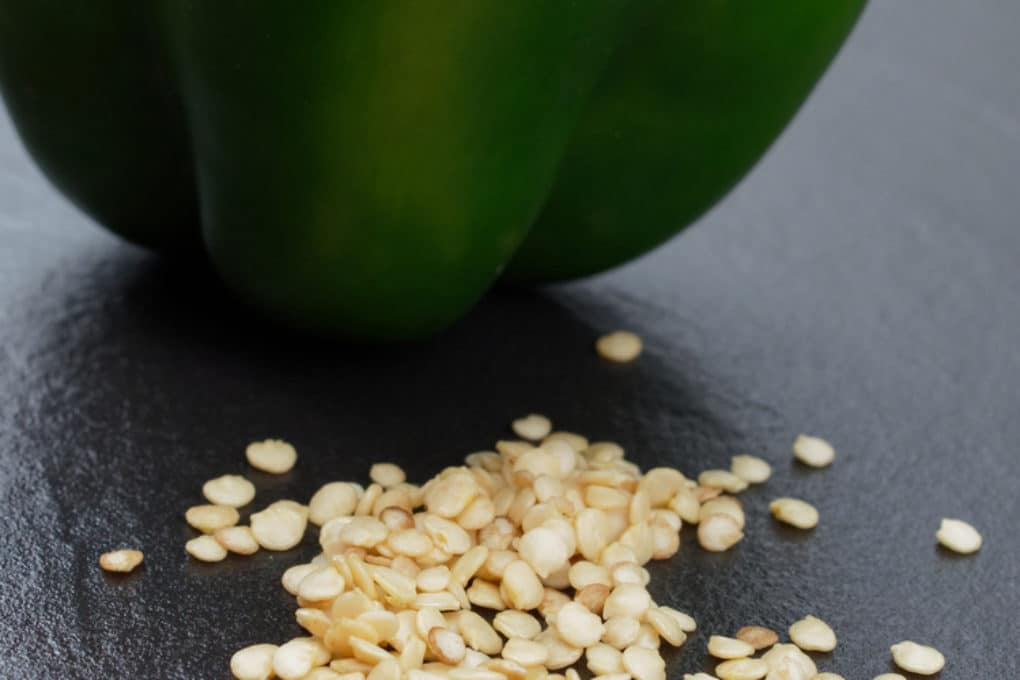
Sowing the Seeds
Moisten the seed starting mix and fill the trays or pots. Sow the seeds about ¼ inch deep, placing 2-3 seeds per cell. Gently cover the seeds with soil and water them using the spray bottle to avoid disturbing the seeds. Cover the trays with a humidity dome or plastic wrap to retain moisture. Place the trays on a heat mat and under a grow light. The ideal soil temperature for germination is between 75-85°F (24-29°C).
Maintaining Optimal Conditions
Check the soil moisture daily and mist as needed to keep it consistently damp, but not waterlogged. Once the seeds germinate (usually within 7-14 days), remove the humidity dome and lower the grow light to a few inches above the seedlings. Provide 14-16 hours of light per day. If you don't have a grow light, place the trays in a sunny south-facing window. However, be aware that window light may not be sufficient for strong, healthy growth.
Thinning and Hardening Off
Once the seedlings have their first set of true leaves (the leaves that appear after the initial seed leaves), thin them to one seedling per cell. Choose the strongest, healthiest-looking seedling and snip off the others at the soil line. About a week before transplanting, begin hardening off the seedlings. This process gradually acclimates them to outdoor conditions. Start by placing the trays outdoors in a sheltered location for a few hours each day, gradually increasing the amount of time they spend outside over the course of the week. Protect them from direct sunlight and strong winds during this process.
Transplanting Bell Pepper Seedlings into the Garden
After hardening off, your seedlings are ready to be transplanted into the garden. Choose a sunny location with well-drained soil. Bell peppers thrive in rich, fertile soil with a p H between 6.0 and
6.8. Before transplanting, amend the soil with compost or other organic matter to improve drainage and fertility.
Preparing the Garden Bed
Dig holes that are slightly larger than the root balls of the seedlings. Space the plants about 18-24 inches apart in rows that are 24-36 inches apart. This spacing allows for adequate air circulation and sunlight penetration, which are crucial for healthy growth and fruit production. If you want to keep your plants hydrated easily, consider using a reliablegarden hose. This 75 FT garden hosewith a versatile 10-Function Nozzleis leak-proof and kink-free, making watering a breeze. You can find this high-quality water hosehere:https://amzn.to/3Yv E0Bo.
Transplanting and Initial Care
Gently remove the seedlings from their trays or pots and place them in the prepared holes. Backfill with soil and gently firm around the base of the plants. Water thoroughly after transplanting. Consider adding a layer of mulch around the plants to help retain moisture, suppress weeds, and regulate soil temperature.
Ongoing Care and Maintenance
Bell peppers require regular watering, especially during hot, dry weather. Aim to provide at least 1 inch of water per week. Fertilize the plants every 2-3 weeks with a balanced fertilizer, following the instructions on the label. Remove any weeds that may compete with the peppers for nutrients and water. Stake or cage the plants to provide support as they grow and prevent the branches from breaking under the weight of the fruit.
Troubleshooting Common Problems When You Grow Bell Peppers From Seed
Even with the best care, bell peppers can sometimes encounter problems. Here are a few common issues and how to address them:
- Blossom End Rot: This condition causes the bottom of the pepper to develop a dark, leathery spot. It's usually caused by a calcium deficiency or inconsistent watering. Ensure consistent watering and consider adding calcium to the soil.
- Aphids: These small, sap-sucking insects can weaken plants and spread diseases. Control aphids by spraying them with a strong stream of water or using insecticidal soap.
- Sunscald: This occurs when peppers are exposed to too much direct sunlight, causing white or tan spots on the fruit. Provide shade during the hottest part of the day or choose varieties that are more resistant to sunscald.
- Poor Fruit Set: Several factors can contribute to poor fruit set, including high temperatures, lack of pollination, and nutrient deficiencies. Ensure adequate pollination by hand-pollinating if necessary, and fertilize the plants regularly.
Harvesting Your Bell Peppers
Bell peppers are typically ready to harvest 60-90 days after transplanting, depending on the variety. The peppers will be firm and have a glossy skin. You can harvest them at any stage of maturity, but the flavor and sweetness will intensify as they ripen. To harvest, use pruning shears or a sharp knife to cut the peppers from the plant, leaving about an inch of stem attached.
Enjoying Your Homegrown Harvest
Growing bell peppers from seed offers not only a rewarding gardening experience but also a delicious and nutritious harvest. From vibrant salads and flavorful stir-fries to stuffed peppers and savory sauces, the culinary possibilities are endless. Savor the fruits (or, in this case, vegetables) of your labor and enjoy the taste of homegrown goodness!