There's something so comforting about a warm, hearty meal that requires minimal effort. Stuffed bell peppers are a classic for a reason – they're delicious, versatile, and packed with nutrients. But sometimes, the thought of pre-cooking rice and browning ground beef can feel like a chore. That's where the magic of the slow cooker comes in. Let's explore how to make unbelievably delicious and easy Crock Pot Stuffed Bell Peppers that practically cook themselves! Delicious and Easy Recipe for Crock Pot Stuffed Bell Peppers This recipe for Crock Pot Stuffed Bell Peppers is a game-changer for busy weeknights or lazy weekends. It simplifies the process without sacrificing any of the flavor. The slow cooker allows the flavors to meld together beautifully, resulting in tender peppers and a savory, satisfying filling. Plus, clean-up is a breeze! It's also a very forgiving dish, so feel free to adjust the ingredients to your liking. Got leftove...
Imagine plucking a vibrant, juicy bell pepper straight from your patio garden, ready to add a burst of flavor to your next meal. Growing your own bell peppers, even without a sprawling backyard, is totally achievable! With the right know-how, you can cultivate these colorful veggies right in a pot. Let's dive into the world of container gardening and discover how to grow bell peppers in a pot successfully.
Choosing the Right Bell Pepper Variety for Container Gardening
Not all bell peppers are created equal, especially when it comes to thriving in a pot. Some varieties are naturally more compact and well-suited for container life. Picking the right one can significantly increase your chances of a bountiful harvest. Think of it like choosing the right tool for the job – a smaller, more manageable pepper plant is ideal for a confined space.
Compact Varieties: The Stars of Container Gardens
When choosing bell pepper varieties to grow in pots, focus on those labeled "compact," "dwarf," or "bush" types. These plants tend to stay smaller and produce peppers earlier in the season compared to their larger counterparts. Here are a few excellent options:
- 'Patio Baby': As the name suggests, this variety is perfectly suited for patios and containers. It produces smaller, sweet bell peppers.
- 'Lunchbox Peppers': These miniature peppers come in a rainbow of colors (red, yellow, orange) and are incredibly sweet and snackable. Their smaller size makes them ideal for pots.
- 'Mini Bell': Similar to Lunchbox peppers, 'Mini Bell' peppers offer a colorful and delicious harvest from compact plants.
- 'Sweet Cherry': While technically not a bell pepper, these small, round peppers offer a sweet, mild flavor similar to bell peppers and are excellent for container gardening.
Consider Your Climate and Growing Season
Beyond the size of the plant, think about your local climate and growing season. Bell peppers are warm-weather crops, so they need plenty of sunshine and warmth to thrive. If you live in an area with a short growing season, opt for varieties that mature quickly. Look for peppers with a shorter "days to maturity" on the seed packet or plant label. For example, 'Early Red Sweet' is a popular choice for cooler climates. If you are looking for a great tool to water your potted peppers, consider thisgarden hose 75 FT with a 10-Function Nozzle, it has a leak-proof metal connector. The water hose is kink-free, wear-resistant, and has a 3/4 GHT metal hose for the garden. It's available here:https://amzn.to/3Yv E0Bo. A good garden hose can make all the difference when watering your plants.
The Ideal Potting Mix and Container for Bell Peppers
Just like choosing the right pepper variety is crucial, so is providing the perfect environment for its roots to flourish. The type of container and potting mix you use will significantly impact the health and productivity of your bell pepper plants. Think of the container as the plant's home and the potting mix as its food – you want to provide the best possible foundation for growth.
Choosing the Right Size Container
Bell peppers need ample space for their roots to develop. A pot that is too small will restrict growth and lead to a less productive plant. A good rule of thumb is to choose a container that is at least12 inches in diameter and 12 inches deep. Larger pots (14-16 inches) are even better, especially for larger bell pepper varieties. You can use plastic, terracotta, or even fabric pots, as long as they have adequate drainage holes. Drainage is essential to prevent the roots from sitting in water, which can lead to root rot.
Fact: Dark-colored pots can absorb more heat, which can be beneficial in cooler climates but detrimental in hot climates. Consider using lighter-colored pots or placing dark pots in a shaded area during the hottest part of the day.
The Importance of Well-Draining Potting Mix
Bell peppers require a well-draining potting mix that is rich in nutrients. Garden soil is generally too heavy and compacted for container gardening, so it's best to use a commercially available potting mix specifically formulated for containers. Look for a mix that contains ingredients like:
- Peat moss: Retains moisture and provides aeration.
- Perlite: Improves drainage and aeration.
- Vermiculite: Helps retain moisture and nutrients.
- Compost: Adds organic matter and nutrients to the soil.
You can also create your own potting mix by combining equal parts peat moss, perlite, and compost. Avoid using soil from your garden, as it may contain pests, diseases, and weed seeds.
Planting and Caring for Your Bell Pepper Plants
Now that you have the right variety and container, it's time to get your bell peppers planted and thriving! This stage requires consistent care and attention to detail, but the rewards are well worth the effort. Think of it as nurturing a young plant – with the right care, it will blossom and produce a delicious harvest.
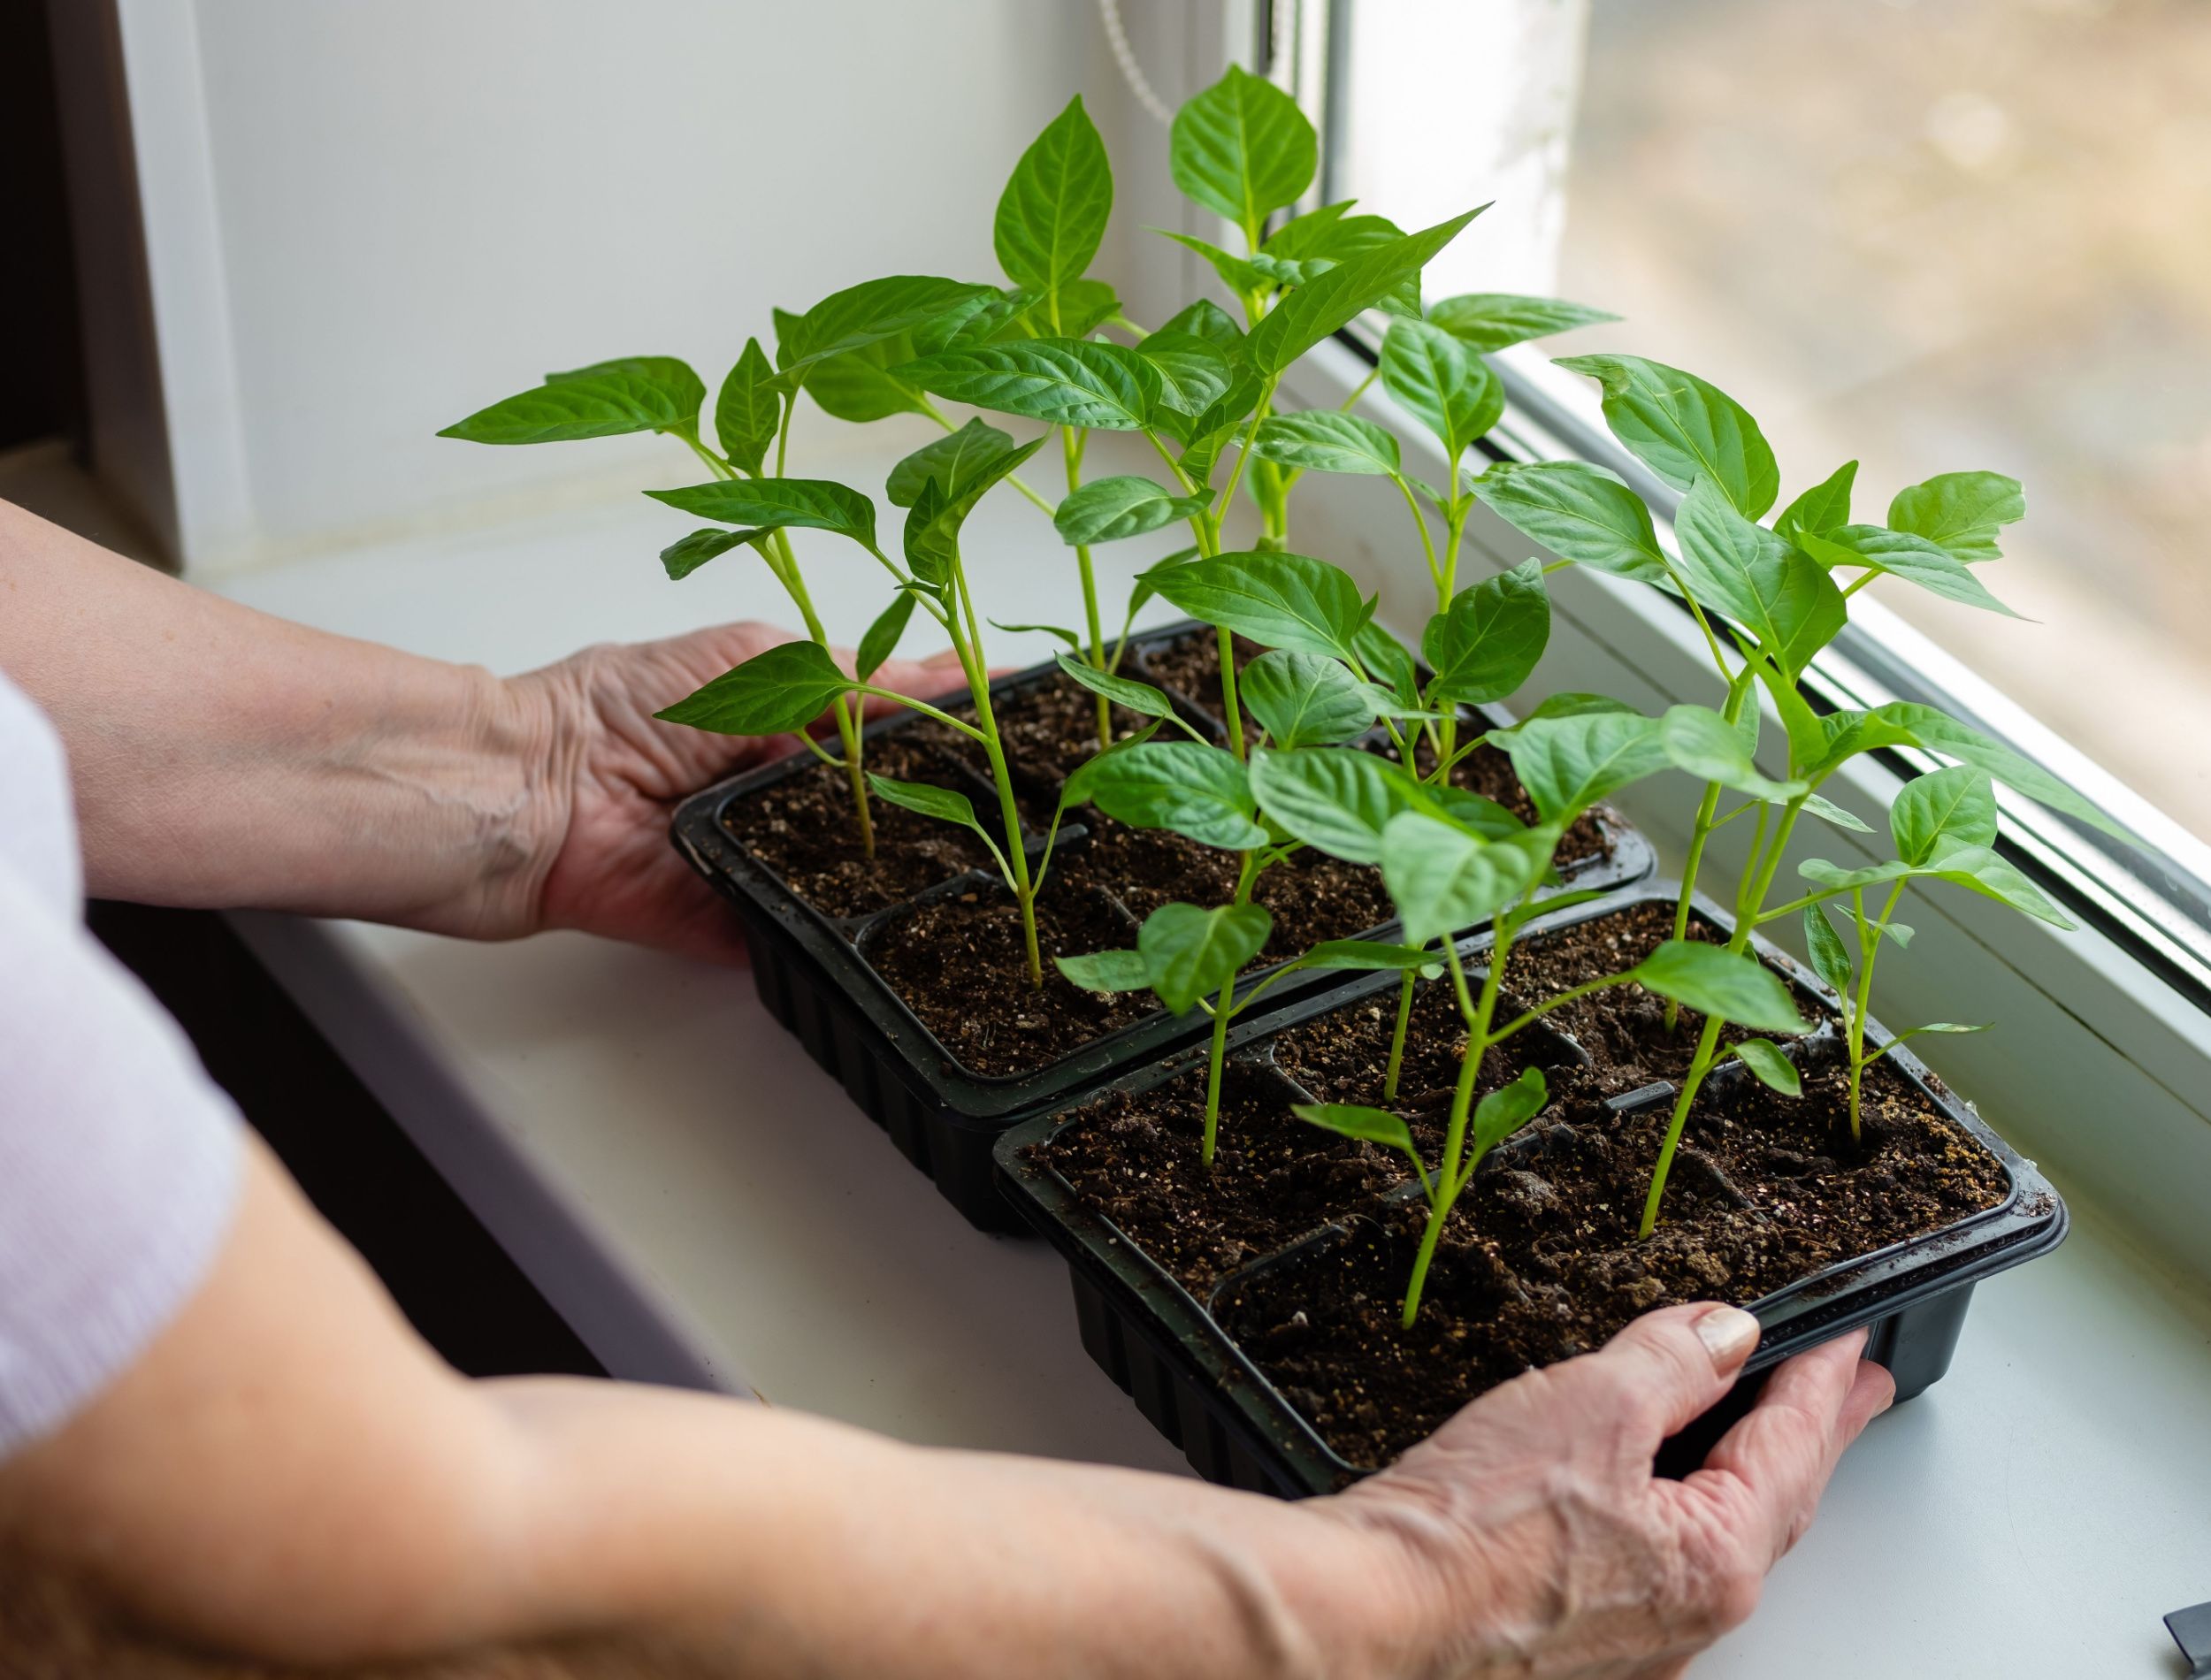
Starting from Seed vs. Buying Transplants
You have two main options for starting your bell pepper plants: starting from seed indoors or buying transplants from a nursery or garden center. Starting from seed gives you more control over the variety you grow, but it requires more time and effort. Buying transplants is a quicker and easier option, but you may have fewer variety choices.
Starting from Seed: If you choose to start from seed, sow the seeds indoors 6-8 weeks before the last expected frost. Use a seed-starting mix and provide plenty of light. Once the seedlings have developed a few sets of true leaves, they can be transplanted into larger pots. Gradually acclimate the seedlings to outdoor conditions before planting them in their final containers. This process, called "hardening off," helps the plants adjust to the temperature, sunlight, and wind.
Buying Transplants: When buying transplants, choose plants that are healthy, stocky, and free from pests and diseases. Avoid plants that are root-bound or have yellowing leaves. Gently remove the plant from its container and loosen the roots before planting it in your prepared pot.
Planting Bell Peppers in Pots: A Step-by-Step Guide
Here's a simple guide to planting your bell pepper plants in pots:
- Fill the pot with potting mix: Leave about an inch or two of space at the top of the pot.
- Dig a hole: Make a hole in the center of the pot that is large enough to accommodate the root ball of the pepper plant.
- Place the plant in the hole: Gently remove the plant from its container and place it in the hole. Make sure the top of the root ball is level with the soil surface.
- Fill in the hole: Fill in the hole with potting mix and gently firm the soil around the plant.
- Water thoroughly: Water the plant thoroughly after planting to help settle the soil and encourage root growth.
- Add a stake or cage: As the plant grows, it may need support to prevent the stems from breaking under the weight of the peppers. Install a stake or cage when you plant the pepper.
Sunlight, Watering, and Fertilizing: The Three Pillars of Pepper Growth
Bell peppers need at least6-8 hours of sunlight per day to thrive. Place your pots in a location that receives plenty of sunlight. Water your bell pepper plants regularly, especially during hot and dry weather. The soil should be consistently moist but not soggy. Check the soil moisture by sticking your finger into the soil. If the top inch of soil is dry, it's time to water. Avoid overhead watering, as this can promote fungal diseases. Water at the base of the plant to keep the foliage dry.
Bell peppers are heavy feeders, so they need regular fertilization to produce a good crop. Use a balanced fertilizer (e.g., 10-10-10) or a fertilizer specifically formulated for vegetables. Follow the instructions on the fertilizer label. You can also supplement with compost tea or other organic fertilizers. Fertilize every 2-3 weeks during the growing season.
Troubleshooting Common Bell Pepper Problems
Even with the best care, you may encounter some challenges when growing bell peppers in pots. Being able to identify and address these problems quickly can help ensure a healthy and productive harvest. Think of it as being a doctor for your plants – diagnosing and treating any ailments that arise.
Pests and Diseases: Identifying and Controlling Common Issues
Bell peppers can be susceptible to a variety of pests and diseases, including:
- Aphids: Small, sap-sucking insects that can weaken plants and spread diseases.
- Spider mites: Tiny pests that create webs on the leaves and suck the sap.
- Whiteflies: Small, white, flying insects that feed on plant sap.
- Blossom-end rot: A physiological disorder caused by calcium deficiency.
- Fungal diseases: Such as powdery mildew and leaf spot.
To prevent pests and diseases, inspect your plants regularly. Remove any infested or diseased leaves. You can also use insecticidal soap or neem oil to control pests. For fungal diseases, use a fungicide or improve air circulation around the plants. To prevent blossom-end rot, make sure your plants are getting enough calcium. You can add calcium to the soil by amending it with bone meal or crushed eggshells.
Environmental Issues: Addressing Common Challenges
Bell peppers can also be affected by environmental factors, such as:
- Sunscald: Damage to the fruit caused by excessive sun exposure.
- Poor fruit set: Failure of the plant to produce fruit due to lack of pollination or unfavorable weather conditions.
- Stunted growth: Slow or limited growth due to nutrient deficiencies, poor soil conditions, or root problems.
To prevent sunscald, provide some shade for your plants during the hottest part of the day. You can use shade cloth or move the pots to a shadier location. To improve fruit set, you can hand-pollinate the flowers by gently shaking the plant or using a small brush to transfer pollen from one flower to another. To address stunted growth, make sure your plants are getting enough nutrients and that the soil is well-draining. If the roots are crowded, transplant the plant into a larger pot.
Harvesting Your Bell Peppers
The most rewarding part of growing bell peppers is harvesting your own fresh, delicious peppers! Knowing when and how to harvest your peppers will ensure that you get the best flavor and yield. Think of it as reaping the rewards of your hard work and dedication.
When to Harvest
Bell peppers can be harvested at any stage of maturity, but the flavor and texture will vary depending on when you pick them. Green bell peppers are typically harvested when they are full size but still green. They have a slightly bitter flavor. Colored bell peppers (red, yellow, orange) are harvested when they have fully ripened and reached their mature color. They are sweeter and more flavorful than green bell peppers.
How to Harvest
To harvest bell peppers, use a sharp knife or pruning shears to cut the pepper from the plant. Cut the stem about an inch above the pepper. Avoid pulling the pepper from the plant, as this can damage the plant. Handle the peppers carefully to avoid bruising them.
Tip: Regularly harvesting your bell peppers will encourage the plant to produce more peppers. Don't be afraid to pick the peppers even if they are not fully ripe – you can always let them ripen further indoors.
Growing bell peppers in a pot is a rewarding experience that allows you to enjoy fresh, homegrown produce even without a traditional garden. By following these tips and providing your plants with the right care, you can successfully grow a bountiful harvest of delicious bell peppers right on your patio or balcony!